Materials (all available at a craft store - twill tape is available at fabric stores):
Printable Iron on Transfer Paper
Computer and Printer
Iron
Scissors
Twill tape (I use 1/2" thickness) or satin ribbon
Directions:
1. You will need to create a design to put on your labels. Something simple which includes your shop name is best. (I decided that since googling my shop name does not bring my shop up in the first 3 hits I would also include the shop address on the labels.) This needs to be slightly slimmer than the twill tape, so if you bought 1/2" twill tape make the image about 3/8"

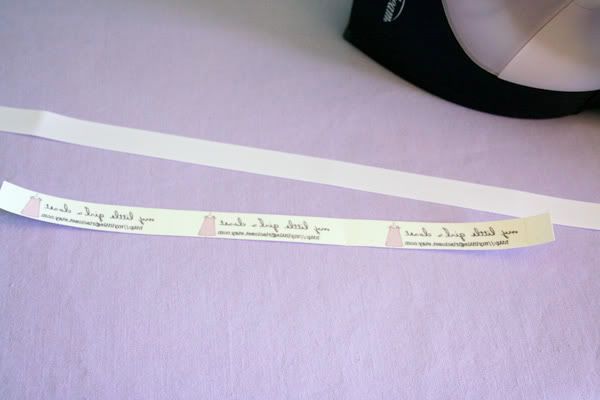
2. The image needs to be mirrored to print as an iron on transfer. I also highly recommend repeating the image to fill the page. This will waste less of the paper.

3. Print. I like to print on regular paper first to make sure that the image isn't too big for the ribbon. If it is make the necessary adjustments and check again. Assuming everything is how you want it, print on the iron on transfer paper and cut out the images to fit.

4. Carefully place the image face down where you want to iron it on. make sure there is no overlap of the transfer beyond the ribbon.

5. Iron. (Follow the directions on the transfer paper you bought.)
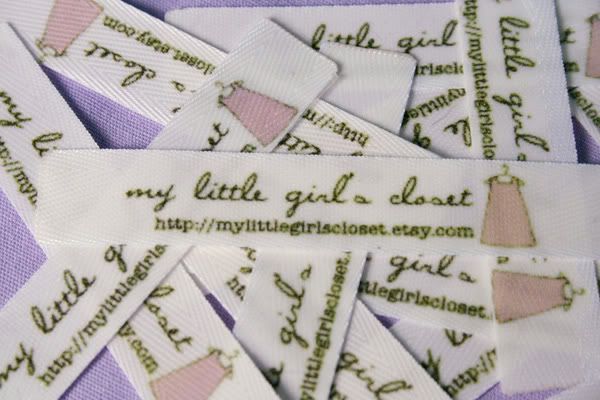
6. Once cooled remove the paper backing and your image should be transfered onto the ribbon.

7. Cut the ribbon to the lengths you want the labels to be.
8. Seal the ends from fraying with heat. To do this: hold a lighter in your right hand and the ribbon in your left. Light the lighter and slowly bring the ribbon towards the flame. You will see the ribbon react to the heat. Be careful not to burn the ribbon (or yourself). The ends of the ribbon will melt and seal themselves from fraying. (if you've never done this before practice a bit before you do this to your labels)

(This shows the difference between a sealed end (left) and a freshly cut unsealed end (right)
9. Sew onto your work!


Thank you! This is helpful :)
ReplyDeleteSo simple! I love it! I've been wanting to find a simple label I could make without wanting to pull my hair out and these are perfect! Thanks!
ReplyDeleteThese are great, thanks for sharing! Do you know if they withstand a wash?
ReplyDelete