


I LOVE to wear my baby. Dahlia snuggles right in and gets comfortable in our pouch sling. She is happiest when she is cuddled right next to me and able to choose between viewing and interacting with the world and napping. I can even nurse in this sling - and hands free too! And Dahlia loves the sling too, sometimes she even drools on it...

After posting a couple photos of Dahlia passed out in the sling I had several requests for a tutorial. So I've put one together. And I think the timing of it is perfect. Pouch slings are getting a bad name in the media these days. User Error has, tragically, caused the deaths of 14 infants in the past 20 years. Because of this, the Consumer Product Safety Commission issued a warning to be cautious using an infant sling for babies under 4 months of age. Fortunately they posted an image showing the proper way to carry a baby. Your baby needs air. Making sure that they are breathing fresh air and not air they've just exhaled is the key to knowing if they are in the sling appropriately.

The other key is having a sling that fits your body perfectly. My husband and I can not use the same sling because we are different sizes. This means I have the freedom to choose fabrics I would like to wear without having to worry about sharing with him.
Onto the tutorial! All photos are links to the photos on flickr, so if you need to see something closer please click away!
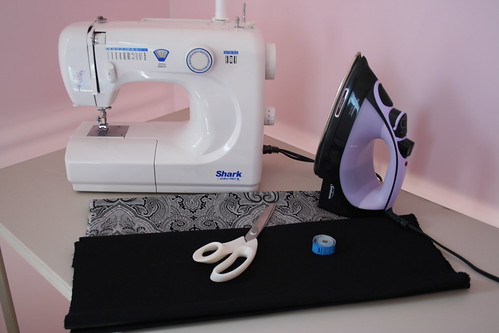
1) Assemble your supplies.
You will need:
2 yards of the pretty fabric of your choice. (I prefer quilting cotton because you can get it in a HUGE selection of prints)
2 yards of a bottomweight like, corduroy, denim or twill. (avoid stretchy fabrics though, they will mess up the ever important fit)
Sewing machine
Thread
Measuring tape (or a string will do in a pinch)
Scissors
Iron (and ironing board)
2) Measure from your shoulder to above your hip bone, diagonally across your body. You want to measure where the sling will sit against your body. I measure 28".
Take this measurement and add 3" to it. Multiple the result by 2. So for me the end number would be (28" + 3") x 2 = 62"
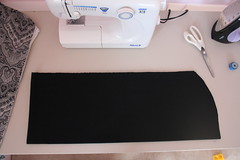
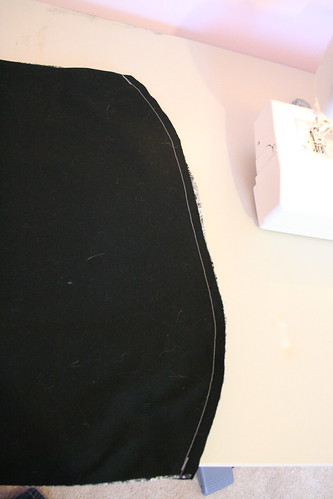
3) Cut both fabrics into rectangles that are 22" (usually this will be half the width of your pretty fabric) by the number in step 2. (mine is 22" x 62")
4) One fabric at a time. Fold the fabric in half twice so that all the corners meet.
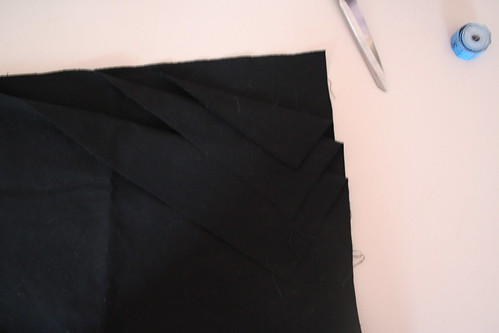
5) Cut a curve off the corner. You want the curve to come in 3" along the long side. You can stretch it as long as you want across the short side, this determines how steep the sides of the pouch are. I like mine pretty steep so I keep the curve fairly short. Do this for both fabrics. (I like to use the first fabric as a template for the second)
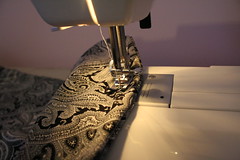
6) Unfold everything and place the fabrics right sides together. Sew the fabrics together along the long sides. This creates a tube.
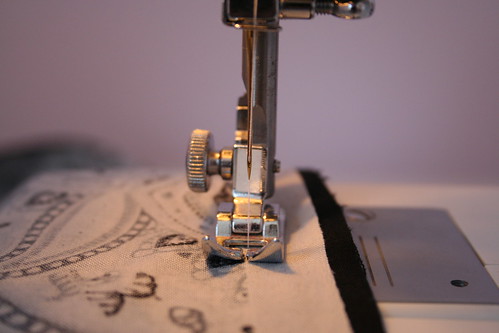
7) Turn the tube right sides out and iron. (Trust me. Iron it now.)
8) Figure out which fabric you want facing out most often. (the sling can be worn either way, but one way has a little flap that you'd have to hand sew down if you want it to lay flat) Fold the flattened tube in half so the fabric you want on the inside is together. Sew the ends together. (This seam is weight bearing, so please make sure you back stitch at the beginning and end)
9) Turn the sling the other way, so the inner fabric is outside. enclose the seam by sewing another seam with a slightly larger seam allowance.

10) Wear with pride!


I like this tutorial. I used another pattern online, and I was dissapointed. I am going to do another with the extra material I have using your pattern. Is it ok if I use the picture diagram of the right/wrong baby positions and the picture of just the baby and the sling?
ReplyDeleteThanks for the great idea! My baby is coming next week and I am excited to use it!
I am kinda confused about the measurement and cutting. I dont want to mess it up so if you could explain. I get steps 1 & 2 but I am confused about what you mean in step 3. If you cuold email me at nbguritz@ymail.com with instruction that would be GREAT! I am wanting to make this for a friend.
ReplyDelete